Your cart is currently empty!
Installing the Genesis Framework and Child Theme
By ·
The following tutorial will show you exactly how to Install the Genesis Framework and our Child Themes. In this process you will install 2 themes. First you’ll install the Genesis Framework, and then our Child Theme immediately after.
In WordPress, The Genesis Framework is the Parent Theme, and our Themes would be considered Child Themes that you install to work based on top of the Parent theme. For more info on this you can take a look here – https://codex.wordpress.org/Child_Themes
Purchase the Genesis Framework –
This tutorial assumes you already have the Genesis Framework. You will need to purchase Genesis before you begin as it is required in order to use our Themes
Note: You would only need to purchase Genesis once.
Installing the Genesis Framework –
1. To install Genesis, first click the link in your WordPress Admin page labeled – Appearance.
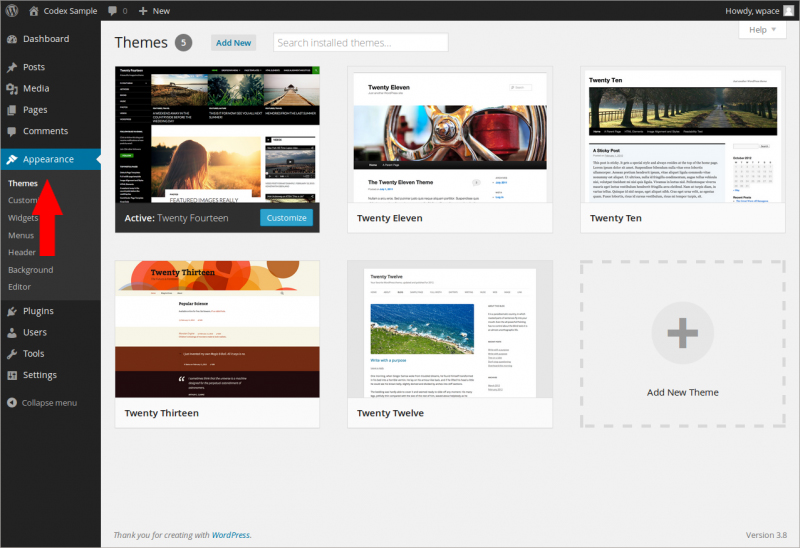
The Appearance > Themes page is where you can access all of your WordPress Themes. On this page you can Add, or Remove Themes from your WordPress installation.
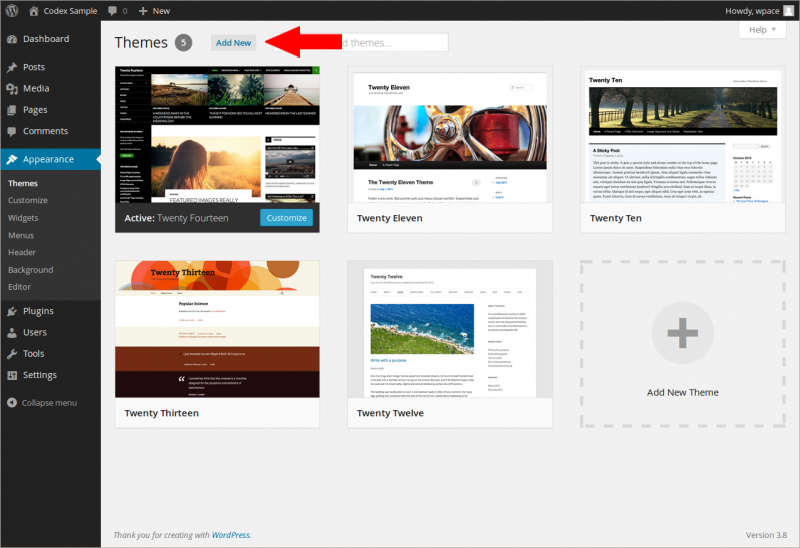
2. To upload the Genesis Framework, click the Add New link at the top of the page –
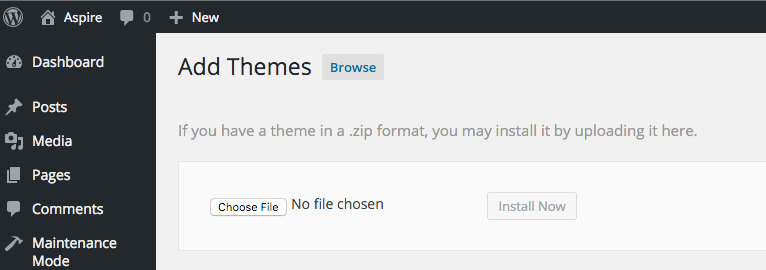
3. This will bring you to the install page. On this page you’ll need to click the Upload Theme link at the top of the page.
4. Once you click the link, an option to Choose File will show up. Click the “Choose File” button, and then locate the zip folder containing the Genesis Framework that you have saved on your computer. Once selected, click the Install Now button.
At this point, the Theme should have Installed Successfully.
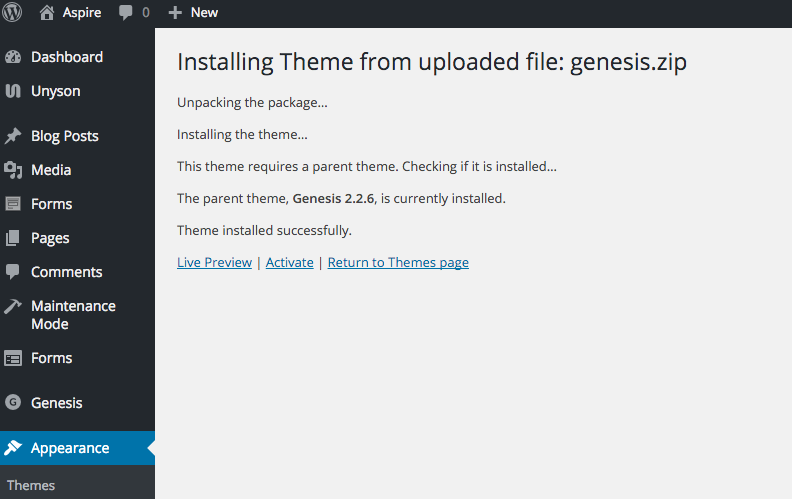
To install the Theme (Child Theme) that you purchased from Appfinite, just follow the exact same steps as above, but make sure and click Activate on the Installation Success page.
Another way to “Activate” our Theme/Child Theme is to go to your Appearance > Themes page and locate the Theme to Activate it from there.